Our Mission
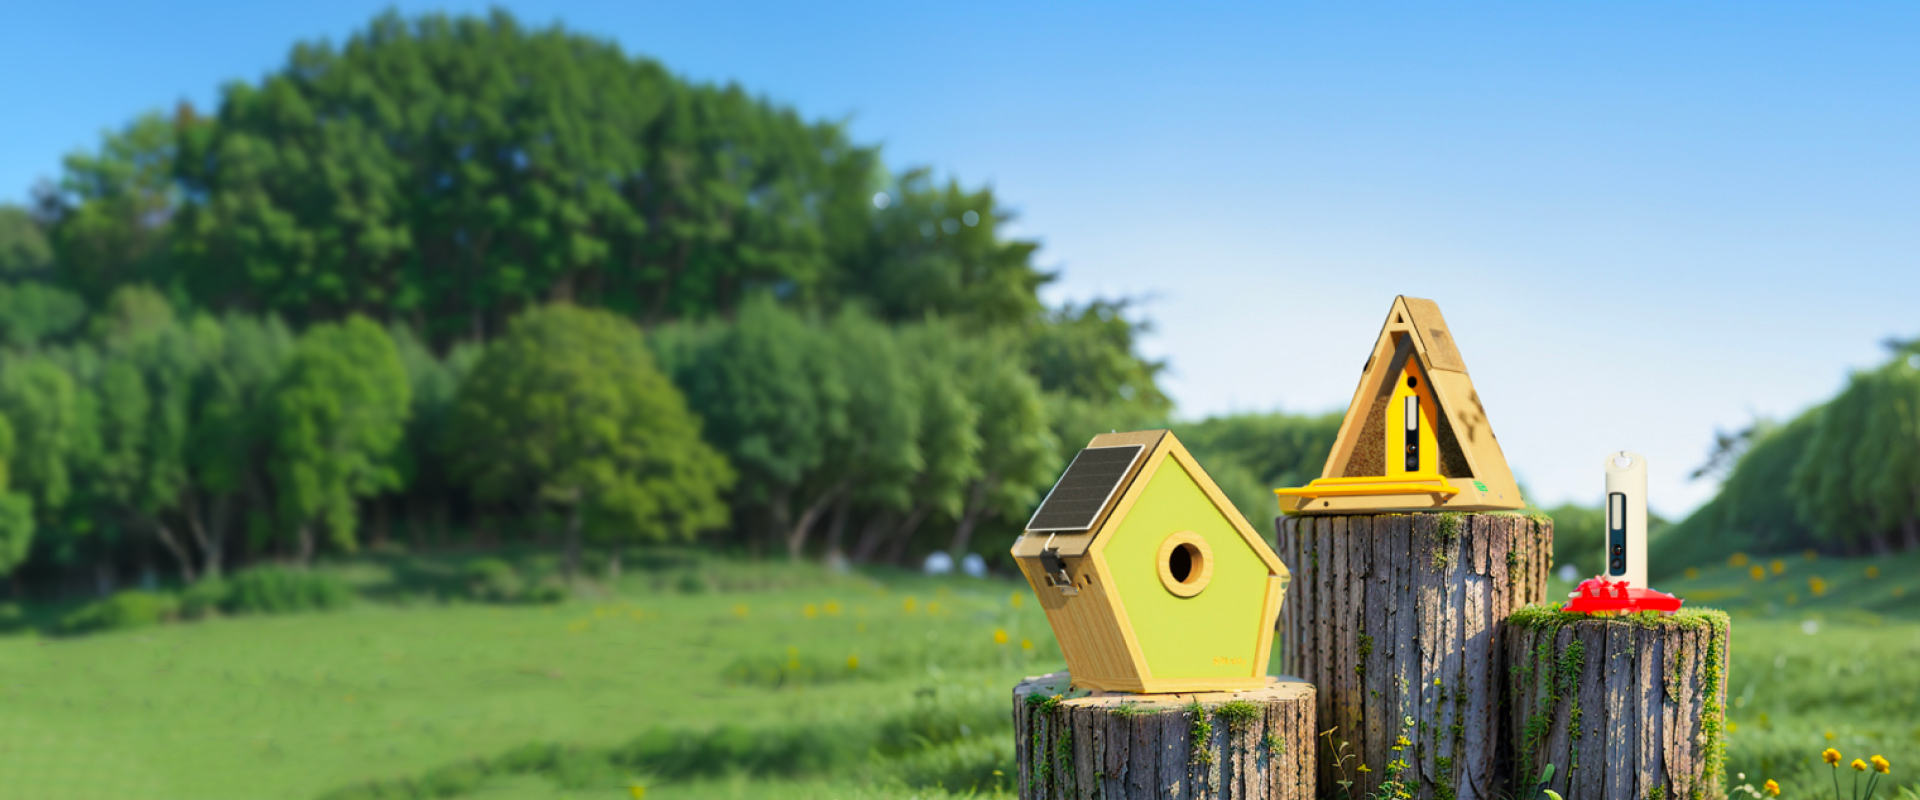
At BirddyReli, we are dedicated to fostering a deeper understanding of avian life with products. As part of our commitment to environmental education, we are excited to offer complimentary Smart Bird Feeders and Smart Birdhouses to businesses and schools. These innovative devices are designed to enhance bird observation experiences and promote wildlife conservation efforts.
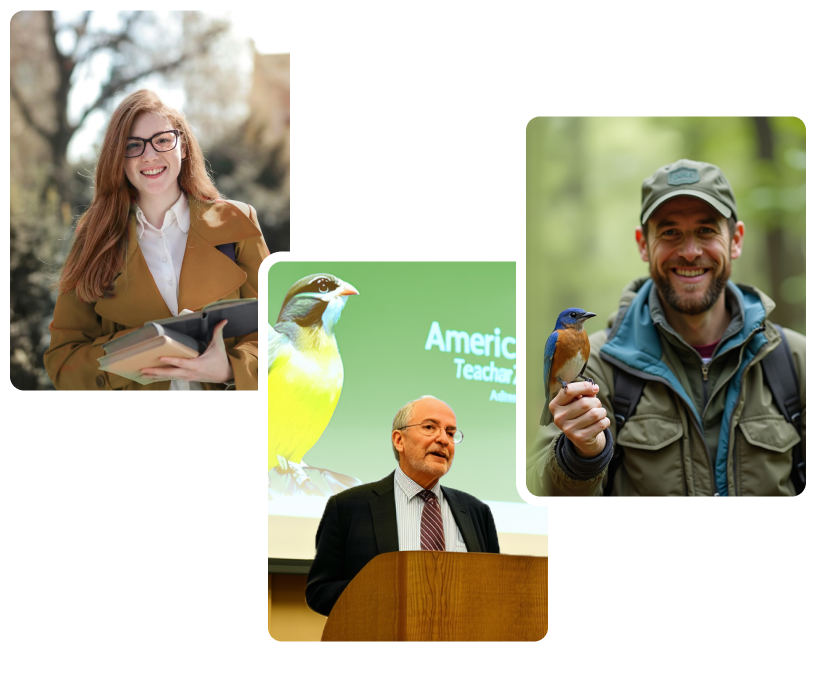
Who You Are
A Junior or Senior in an accredited college or university.
A Content Creator:
Enthusiastic about creating engaging content that aligns with Reli.
A Nature Educator or Advocate:
You work with organizations like botanical gardens, wildlife centers, or schools, promoting environmental education and conservation.
A Community Connector:
Well connected within environmental or wildlife groups, capable of bringing these communities together through shared activities.
What You’ll Do:
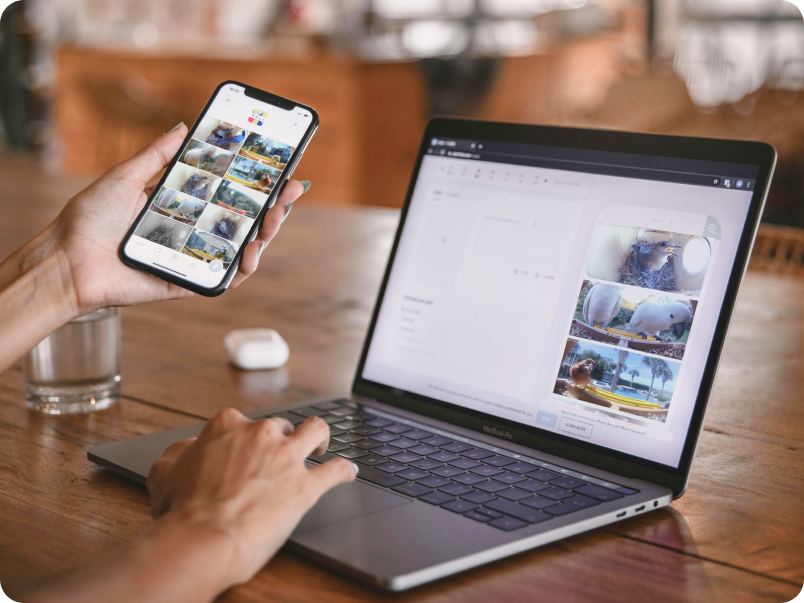
We kindly ask partners to share videos and photos of the birds. This collaboration helps to foster a strong community of bird enthusiasts. Additionally, there’s an opportunity for schools to be featured on our official website, further promoting our shared commitment to education and nature.

What Partners Can Expect
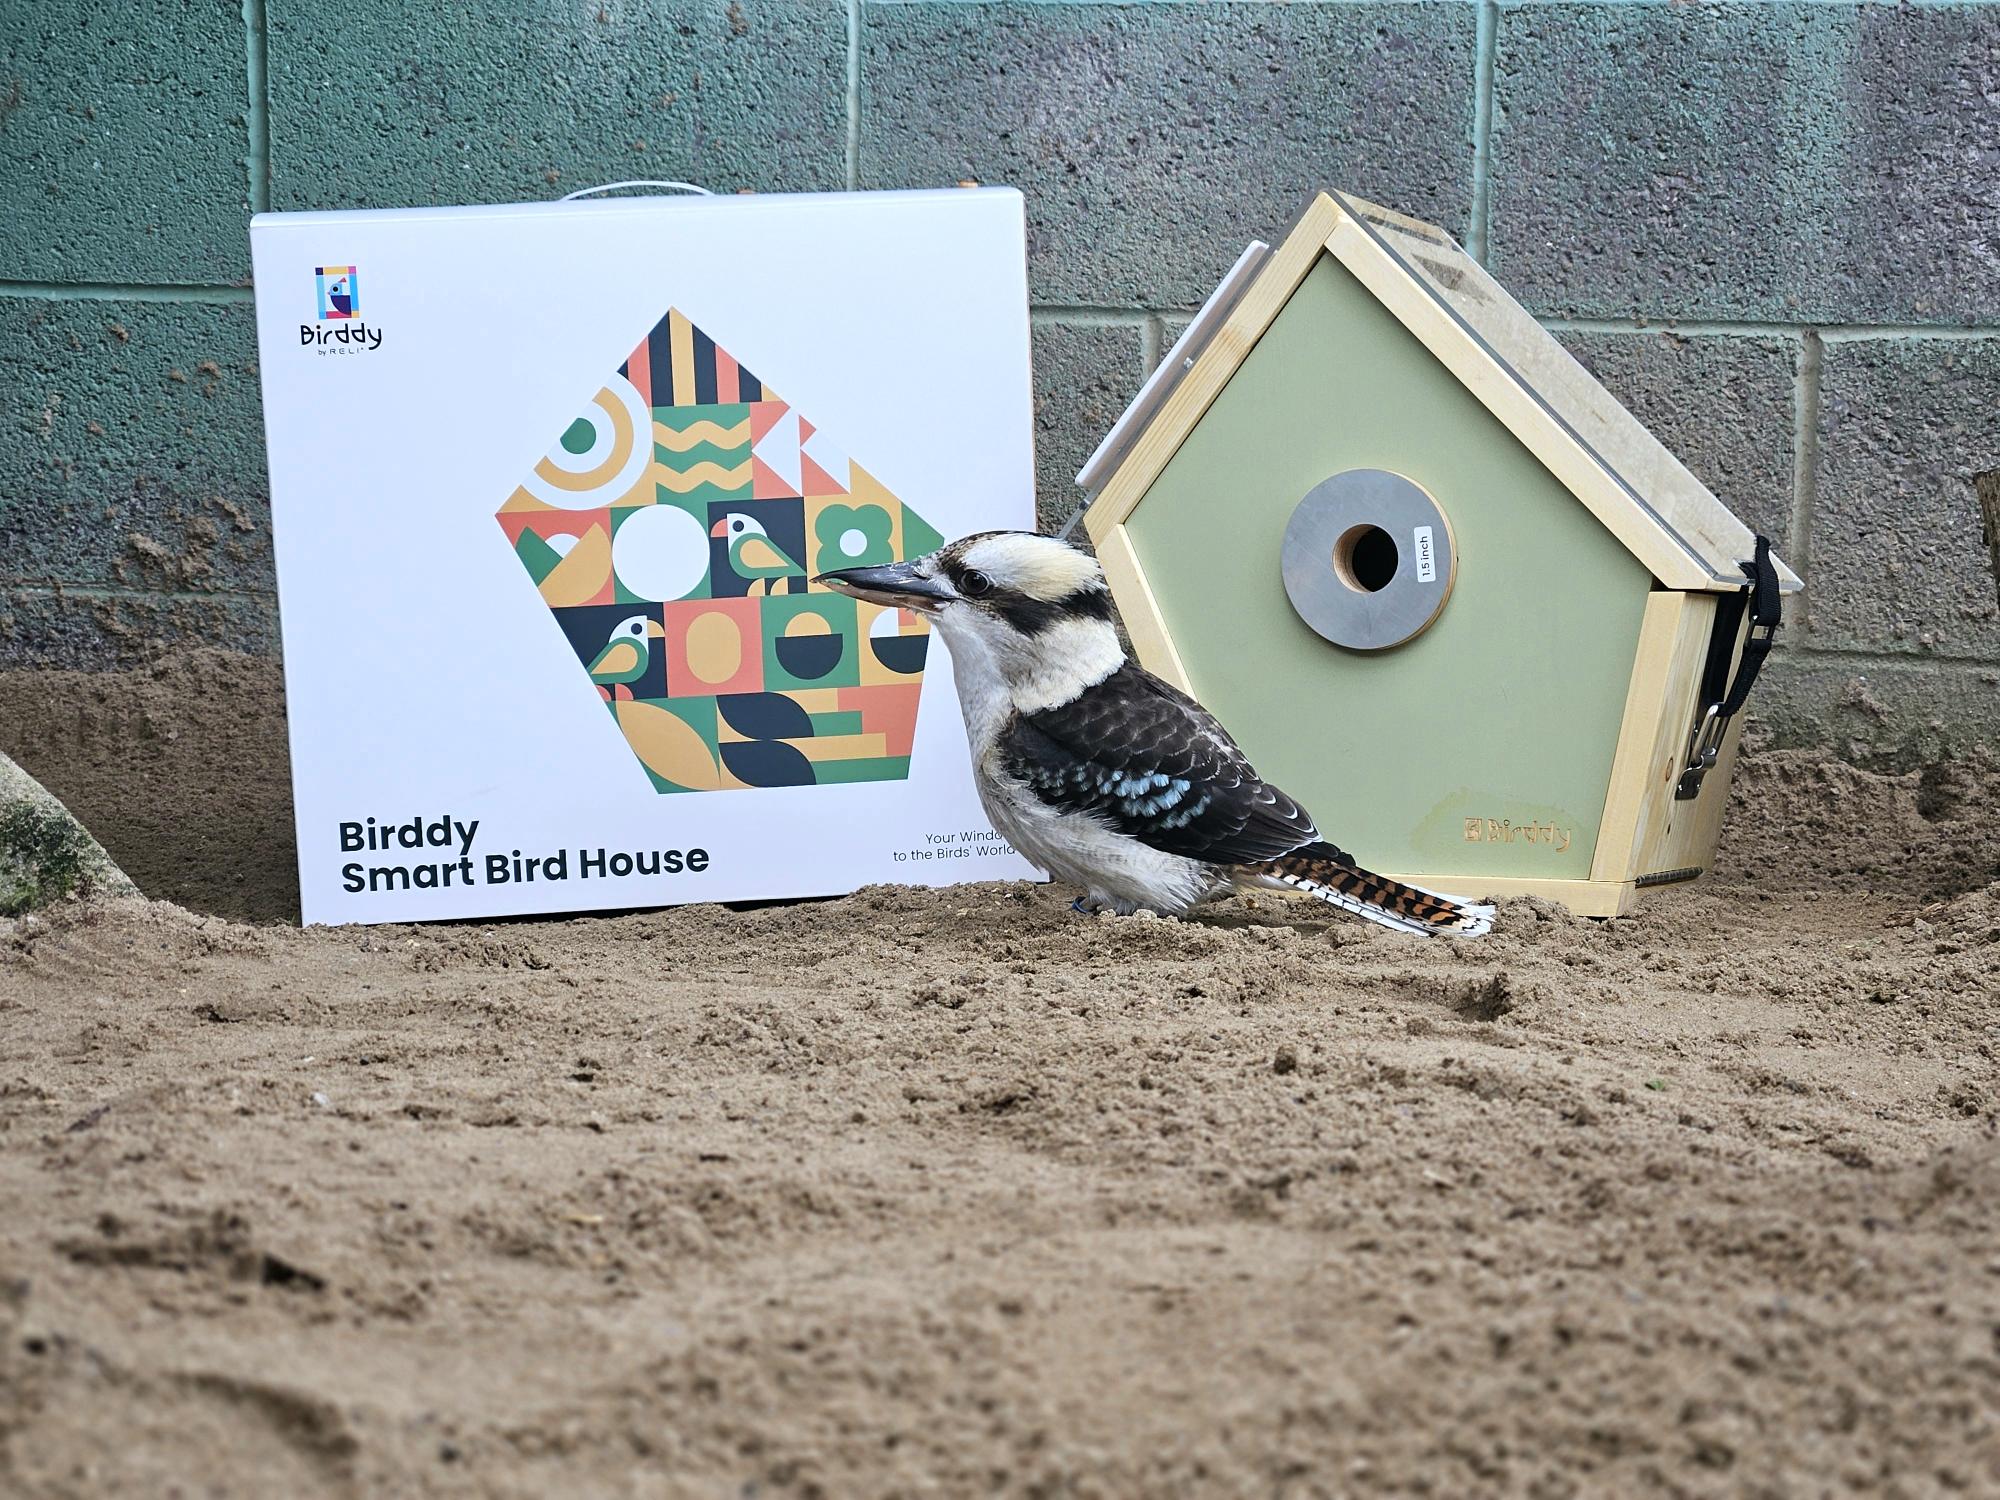
By participating in our Reli-Relink to nature project, partners will gain access to cutting-edge technology that facilitates bird monitoring and research. Our Smart Bird Feeders and Smart Birdhouses provide valuable insights into avian behavior and contribute to a greater appreciation of biodiversity within local ecosystems.
Together with Our Partners


Bird World
Reli Tech collaborates with Bird World Zoo in the UK for bird conservation. Using RELI’s Smart Bird Houses and Feeders, they monitor and aid Black Cheeked Lovebirds and Mitchell’s Lorikeets. Data collected will support breeding programs and facilitate their return to the wild. Bird World plans to share findings through scientific papers and newsletters, fostering collaboration among UK zoos.
Welsh Mountain Zoo
In this project, Welsh Mountain Zoo will use Reli’s Smart Bird House to track birds and collect media resources for tourists and education. The zoo also sent chimpanzee a Reli’s recyclable product packaging. The video gained many views on Instagram.